Are you a MacBook user who needs to print documents, photos, or images? Look no further! In this article, we will show you how to print like a pro on your MacBook.
You’ll learn how to connect your printer to your MacBook, print from various applications, and adjust print settings for optimal results. We’ll also tackle common printing issues and troubleshooting techniques.
Plus, we’ll delve into the exciting world of printing photos and images on your MacBook. And if you’re feeling adventurous, we’ll even explore advanced printing options to take your printing skills to the next level.
Whether you’re a beginner or a seasoned MacBook user, this article will equip you with all the knowledge and tips you need to print like a pro on your MacBook. Let’s get started!
Key Takeaways
- Connect a printer to your MacBook for seamless printing
- Follow specific steps for printing from different applications
- Adjust print settings to achieve optimal results
- Troubleshoot common printing issues for a smooth printing experience
Connecting Your Printer to Your MacBook
Now, it’s time to connect your printer to your MacBook and unleash the power of printing at your fingertips.
First, make sure your printer is turned on and connected to a power source.
Locate the USB cable that came with your printer and plug one end into the printer’s USB port. Then, take the other end of the USB cable and plug it into one of the USB ports on your MacBook.
Once the connection is made, your MacBook should automatically detect the printer and install any necessary drivers.
To confirm the connection, go to the Apple menu and select ‘System Preferences.’ From there, click on ‘Printers & Scanners’ and you should see your printer listed.
Now you’re ready to start printing like a pro on your MacBook!
Printing from Applications on Your MacBook
To achieve a polished printing experience on your MacBook, effortlessly generate documents directly from various applications. Start by opening the application you want to print from, such as Pages or Safari.
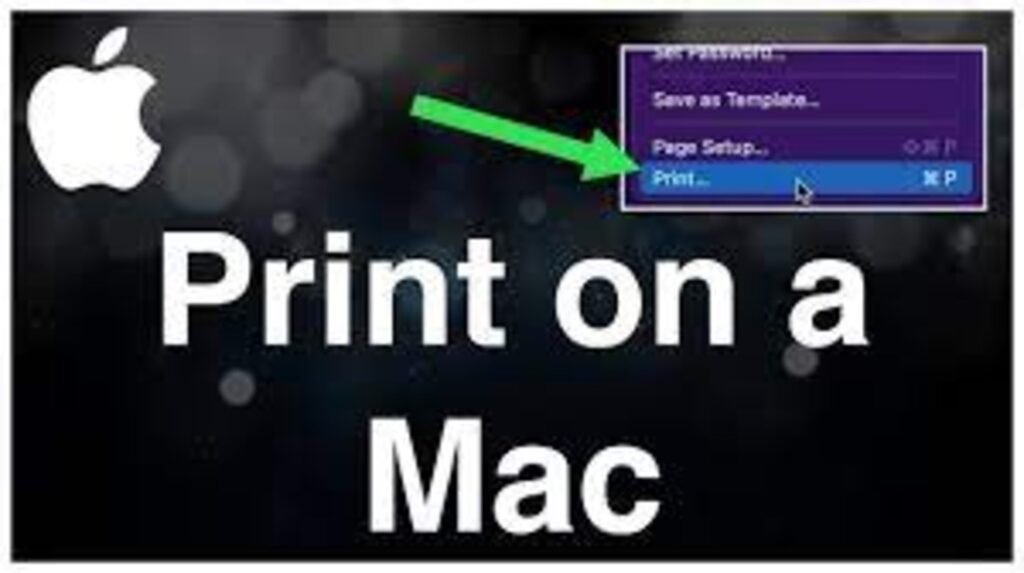
Once the document or webpage is open, locate the ‘File’ option in the top menu bar and click on it. A drop-down menu will appear, and you should select the ‘Print’ option.
A print dialog box will pop up, allowing you to customize your print settings. Here, you can choose the printer you want to use, select the number of copies, and modify other preferences like paper size and orientation.
Once you’re satisfied with the settings, click on the ‘Print’ button, and your document will be sent to the printer for a professional-looking printout.
Adjusting Print Settings for Optimal Results
For the best results, make sure you adjust your print settings on your MacBook by customizing options such as printer selection, number of copies, and paper size and orientation.
To do this, first, open the document you want to print and go to the File menu. Choose the Print option, and a dialog box will appear. Here, you can select your desired printer from the drop-down menu.
Next, specify the number of copies you need by entering the desired quantity. You can also choose the paper size and orientation that best suit your needs.
Once you’ve made all the necessary adjustments, simply click the Print button, and your document will be printed according to your customized settings. Remember to double-check your print settings to ensure optimal results every time.
Troubleshooting Common Printing Issues
Having trouble getting your documents to print smoothly? Let’s troubleshoot some common printing issues!
First, make sure that your printer is properly connected to your MacBook and turned on.
Check the printer’s settings to ensure that it’s set as the default printer.
If you’re experiencing slow printing, try reducing the print quality or selecting the ‘Fast Draft’ mode.
If your prints are coming out faded or streaky, it may be time to replace the ink cartridges.
Additionally, if you encounter paper jams, check for any obstructions in the paper feed and gently remove them.
Remember to keep your printer’s software up to date to avoid compatibility issues.
By following these troubleshooting steps, you’ll be printing like a pro in no time!
Printing Photos and Images on Your MacBook
Get ready to bring your memories to life by easily printing beautiful photos and images directly from your MacBook!
Printing photos and images on your MacBook is a breeze with the built-in Photos app. Simply open the Photos app and select the photo or image you want to print. Click on the Share button and choose the Print option.
A print preview will appear, allowing you to adjust the print settings such as paper size, orientation, and quality. Once you’re satisfied with the settings, click on the Print button and watch as your photo or image comes to life on paper. Remember to use high-quality photo paper for the best results.
Now you can showcase your favorite memories and creations with professional-looking prints, all from the comfort of your MacBook.
Exploring Advanced Printing Options
Discover the hidden gems of printing options on your MacBook, allowing you to unleash your creativity and customize your prints to perfection.
With advanced printing options, you can take your printing experience to the next level. Start by exploring the different paper sizes and types available, ensuring that your prints match your artistic vision.
Next, dive into the world of color management, where you can adjust the color settings to achieve the perfect balance and vibrancy in your prints.
Don’t forget to experiment with the various print quality options, from draft mode to high-resolution printing, depending on your needs.
Lastly, take advantage of the layout options to create stunning collages or multiple prints on a single page.
With these advanced printing options, you’ll be able to print like a pro on your MacBook.
Frequently Asked Questions
Yes, you can print wirelessly from your MacBook to a printer that is not connected to your local network. Simply connect to the printer’s Wi-Fi network and select it as your printing option.
To print double-sided pages on your MacBook, go to the “Print” menu, select “Layout” or “Finishing” options, and choose the “Two-Sided” or “Duplex” printing option. This will automatically print on both sides of the paper.
If your MacBook isn’t recognizing your printer, try these steps: 1) Check if the printer is connected properly. 2) Restart both the printer and your MacBook. 3) Update your printer’s driver software. 4) Contact the printer manufacturer for further assistance.
Yes, it is possible to print in different paper sizes on a MacBook. Simply go to the print settings, select the desired paper size, and the MacBook will adjust the print accordingly.
Yes, you can print in black and white only on your MacBook to save ink. Simply go to the print settings, choose “Black & White” or “Grayscale,” and then proceed to print as usual.
Conclusion
So there you have it – printing on your MacBook like a pro is easier than you think! By following the steps outlined in this article, you can easily connect your printer, print from applications, adjust settings for the best results, troubleshoot any issues, and even print stunning photos and images.
Don’t forget to explore the advanced printing options available to enhance your printing experience. With these tips, you’ll be printing like a pro in no time!
